Painting Pressure-Treated Wood: How and When to Paint
What Is Pressure-Treated Wood?
Pressure-treated wood is just normal lumber (often pine) that has been forced with chemicals to resist rot, insects, and moisture. It comes from the mill quite heavy and wet – sometimes 45–90% moisture by weight – and needs to dry out for weeks or months. When new, it often looks green or brown from the preservative treatment. The treatment makes the wood strong and long-lasting outdoors, but the trade-off is that you must let it dry out before painting.
Can You Paint Pressure-Treated Wood?
Yes, you can paint pressure-treated wood. In fact, many experts recommend coating it with paint or stain to protect the wood and improve its appearance. One pro even says you can paint pressure-treated wood easily as long as you use a proper primer and paint. The bottom line is that painting is fine – but only if you prepare it correctly.
Why Wait Before Painting?
The key is patience. Pressure-treated wood is saturated with water and chemicals when new, so it won’t take paint well right away. If you paint too early, the moisture and treatment chemicals will push the paint off, causing peeling, blistering, or cracking. As many professionals point out, you must make sure the lumber is fully dry before painting; otherwise, the paint will likely peel. In practice, that often means waiting 2–4 months or longer in humid climates for regularly treated lumber. Using kiln-dried lumber can shorten the wait, since it’s already dried at the mill.
How to Tell If the Wood Is Dry Enough
The easiest test is the water-drop test. Sprinkle a few drops of water on the wood’s surface. If the water soaks in within a few minutes, the wood is dry enough to paint. If it beads up and sits on top, the wood is still too wet and needs more drying time. Try this in several spots. Professional painters may also use a moisture meter. Generally, you want the wood to measure around 15–20% moisture or less before painting.
Cleaning and Preparing the Wood
Once the lumber is completely dry, preparation is critical. The wood surface must be clean and free of any residue before painting. During drying, treatment chemicals and dirt can leach out and leave a powdery or slick film on the wood. It’s important to wash this off before applying primer or paint. In practice, scrub the wood with a stiff brush, water, and a mild detergent, then rinse well. Avoid pressure washing, as excessive force can roughen or damage the wood. Let the wood dry again after cleaning.
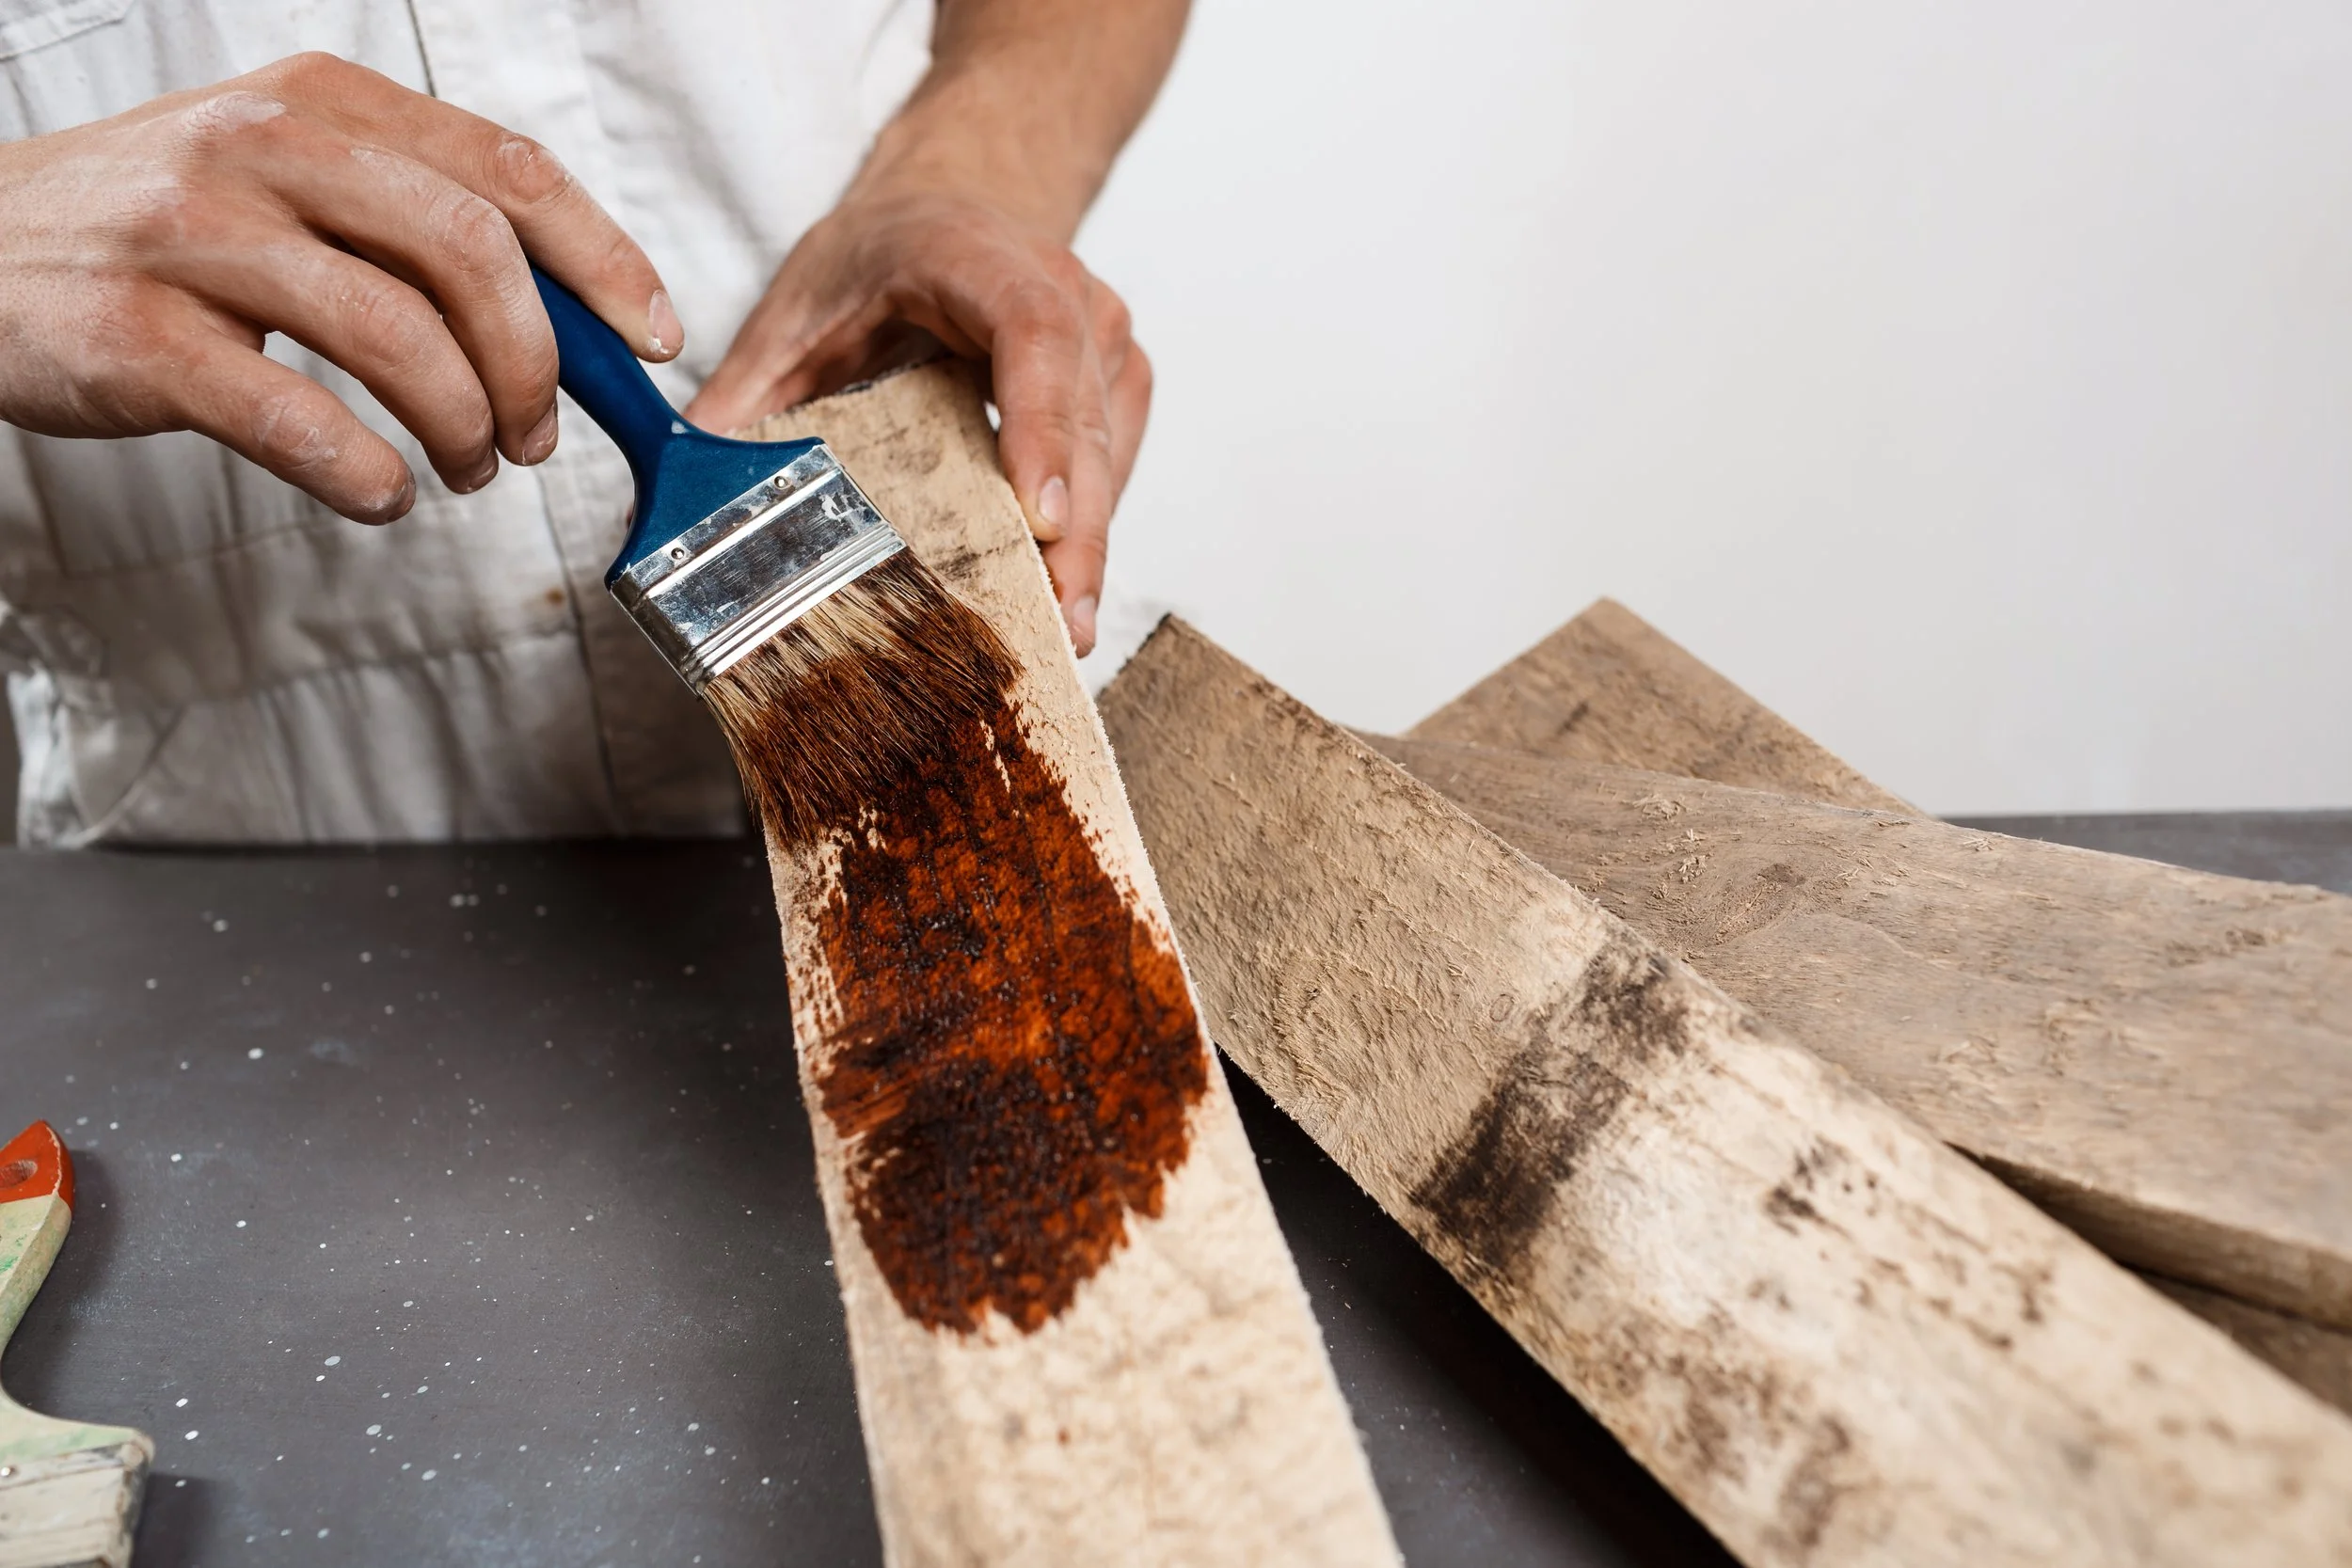
Priming Pressure-Treated Wood
After the wood is clean and dry, the next step is primer. Use a high-quality exterior primer made for wood. Many suppliers recommend an exterior latex primer designed specifically for pressure-treated lumber. This type of primer allows the paint to adhere to the wood properly, giving your paint coat a better chance to last. Apply one even coat of primer to all surfaces of the boards, making sure to cover edges and end grains since cut ends absorb more moisture. Allow the primer to dry fully, often at least a full day, before painting. Skipping primer or rushing the drying time can lead to uneven coverage and early paint failure.
Choosing the Right Paint
For the top coat, use a good-quality exterior latex paint. Most professionals agree that water-based latex paint works best for pressure-treated wood because it remains flexible and breathable as the wood expands and contracts. Oil-based paints tend to be too rigid and are more likely to chip or peel on treated lumber, so they are generally avoided.
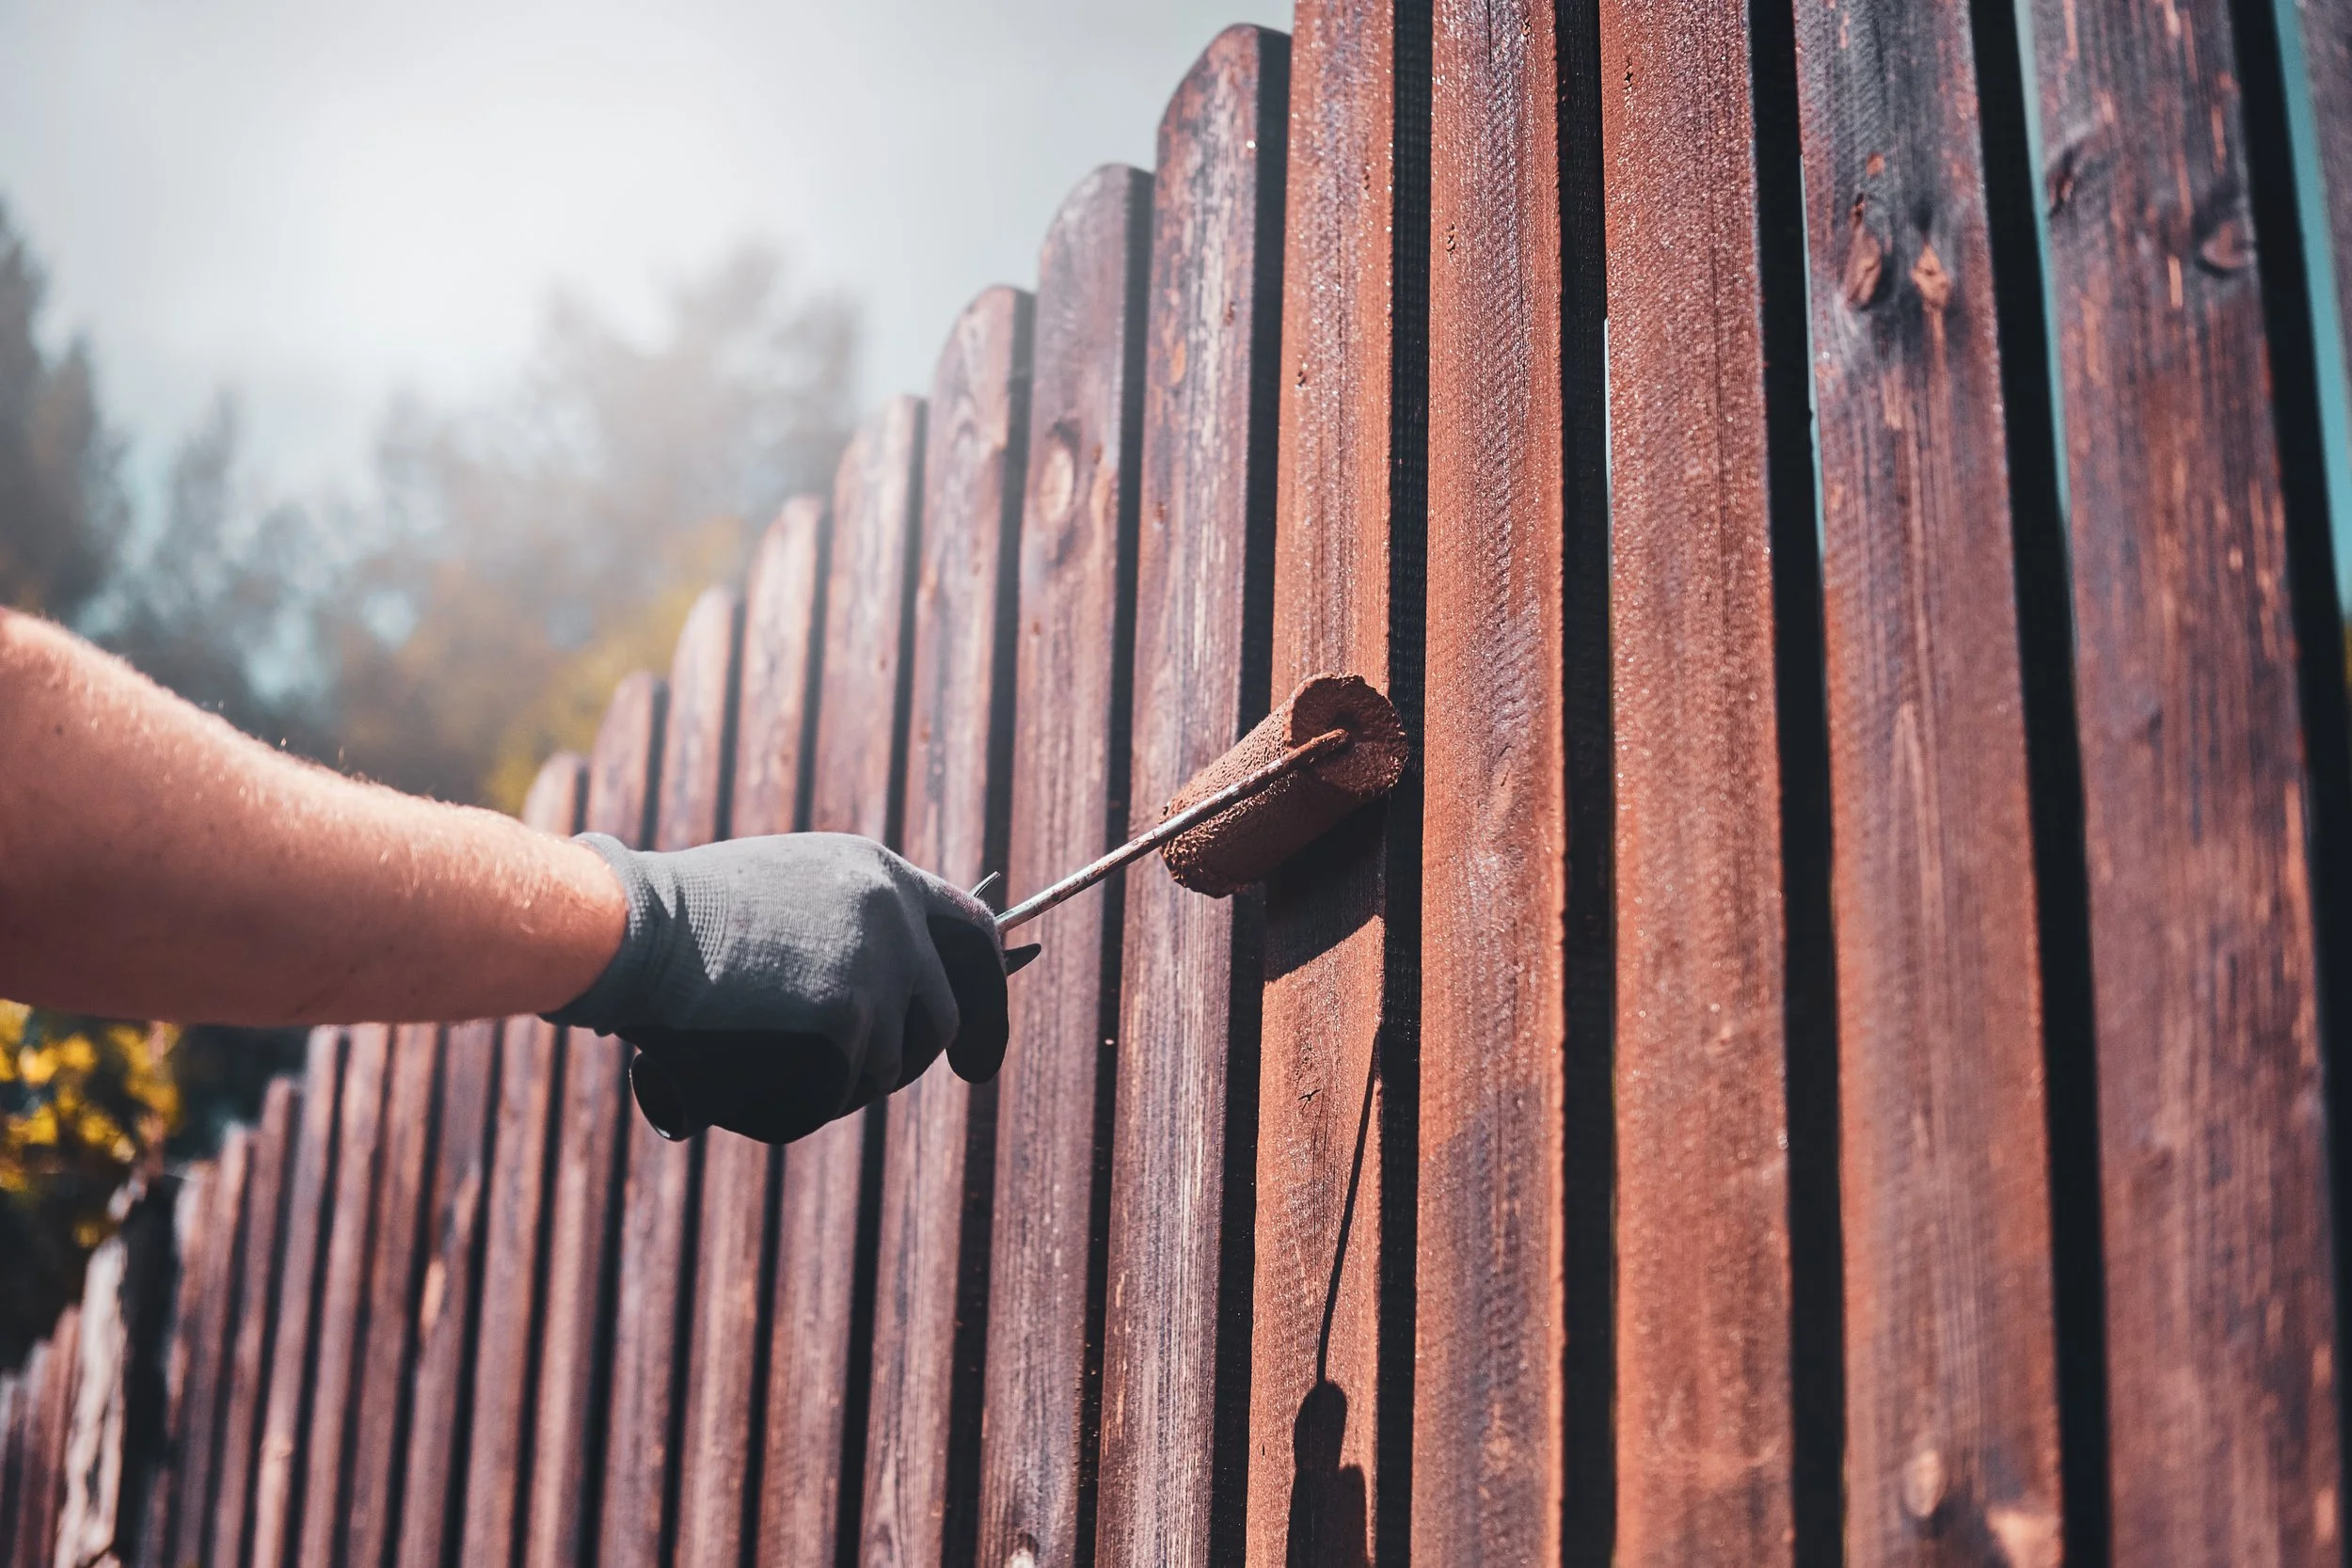
Apply the paint in thin, even coats. Two coats are usually needed for a solid, long-lasting finish. Allow each coat to dry completely before applying the next. Be sure to cover all sides of the boards. Cut ends in particular should receive extra attention since they absorb more paint than flat surfaces.
If you’re painting a deck floor or another walking surface, keep in mind that standard paint can become slippery when wet. For horizontal surfaces, many professionals recommend specialty deck coatings that include non-slip properties.
Painting vs. Staining
Instead of paint, some homeowners choose stain for pressure-treated wood. Stains penetrate deeper into the wood and allow the natural grain to show through, giving a more natural appearance. Semi-transparent stains often require less frequent reapplication, which can make long-term maintenance easier. However, stain does not hide surface imperfections or old coatings as well as paint.
Paint provides an opaque, uniform finish and is better at covering blemishes, repairs, or discoloration on older wood. It also offers a wider range of color options compared to stain. In short, stain offers a natural look with simpler upkeep, while paint delivers bold color and full coverage. Either option works as long as the wood is dry, properly cleaned, and prepared before application.
Common Questions
Can I paint pressure-treated lumber right away?
No. Unless the wood is kiln-dried after treatment, new pressure-treated lumber needs time to dry before it can be painted. Painting too soon traps moisture beneath the coating, which often leads to peeling, bubbling, or blistering. Always wait until the wood passes a moisture or water-absorption test.
How long should I wait before painting?
Most professionals recommend waiting about three to six months before painting standard pressure-treated wood. In dry, warm climates it may be ready sooner, while humid or cooler conditions can extend the drying time. Testing the wood is always more reliable than relying on a set timeline.
What primer and paint should I use?
Use products designed for exterior wood surfaces. An exterior latex primer made for pressure-treated lumber followed by a high-quality exterior latex paint provides the best results. Premium products tend to last longer and perform better outdoors. Oil-based paints should generally be avoided on treated wood because they do not bond well.
What if I don’t want to wait to paint?
If timing is an issue, kiln-dried-after-treatment lumber is a good option. These boards are dried after the treatment process and can often be painted much sooner than standard pressure-treated wood.
Should I hire a professional?
While painting pressure-treated wood can be done on your own, the process involves several important steps that must be done correctly. Professional painters know how to test moisture levels, choose the right materials, and apply coatings properly for long-lasting results. Many homeowners prefer hiring a contractor for exterior projects like decks and fences to avoid costly mistakes.
Painting Pressure-Treated Wood the Right Way
You can paint pressure-treated wood, but success depends on proper timing and preparation. Allow the wood to dry fully, clean and prime it carefully, and use a quality exterior latex paint. Skipping steps or rushing the process often leads to peeling paint and a finish that doesn’t last.
If you’d rather avoid the hassle, professional help can make the process easier and more reliable. Experienced painters have the tools and knowledge to prep and paint pressure-treated wood correctly from start to finish.
Ready to get professional results? Stephen Radl Painting is your trusted local painting contractor in the South Bay area. Our team handles all the preparation and painting needed to give your pressure-treated wood a beautiful, durable finish. Contact Stephen Radl Painting today for a free estimate and enjoy a worry-free paint job.